If you're subscribed to the Above Privacy Suite (APS), you can sync your contacts, calendar and tasks on your above phone using DAVx5. The way it works is by connecting to our private servers which support the CardDAV and CalDAV protocols.
This is how you set it up:
1. Open the DAVx5 app on your mobile. We created a handy shortcut in the 'Office' folder on your above phone.
2. Allow permissions in DAVx5 (Contacts, Calendar, Tasks). The app will guide you through this.
Note: consider disabling 'Remove permissions and free up space' for DAVx5. When you click 'Keep permissions' it will take you into the 'App info' section where you will have to scroll down to 'UNUSED APPS')
3. Click on the orange ‘Plus’ icon on the bottom right to add an account.
4. Select the second option: ‘Login with URL and username’
For the server URL enter: cal.above.im
For username and password fields just enter your Above email credentials (the same as your APS account). So it will be your <username>@above.im and the password you created along with that address.
7. Click ‘Login’. If all the information is correct, you will be forwarded to a new page to create the account.
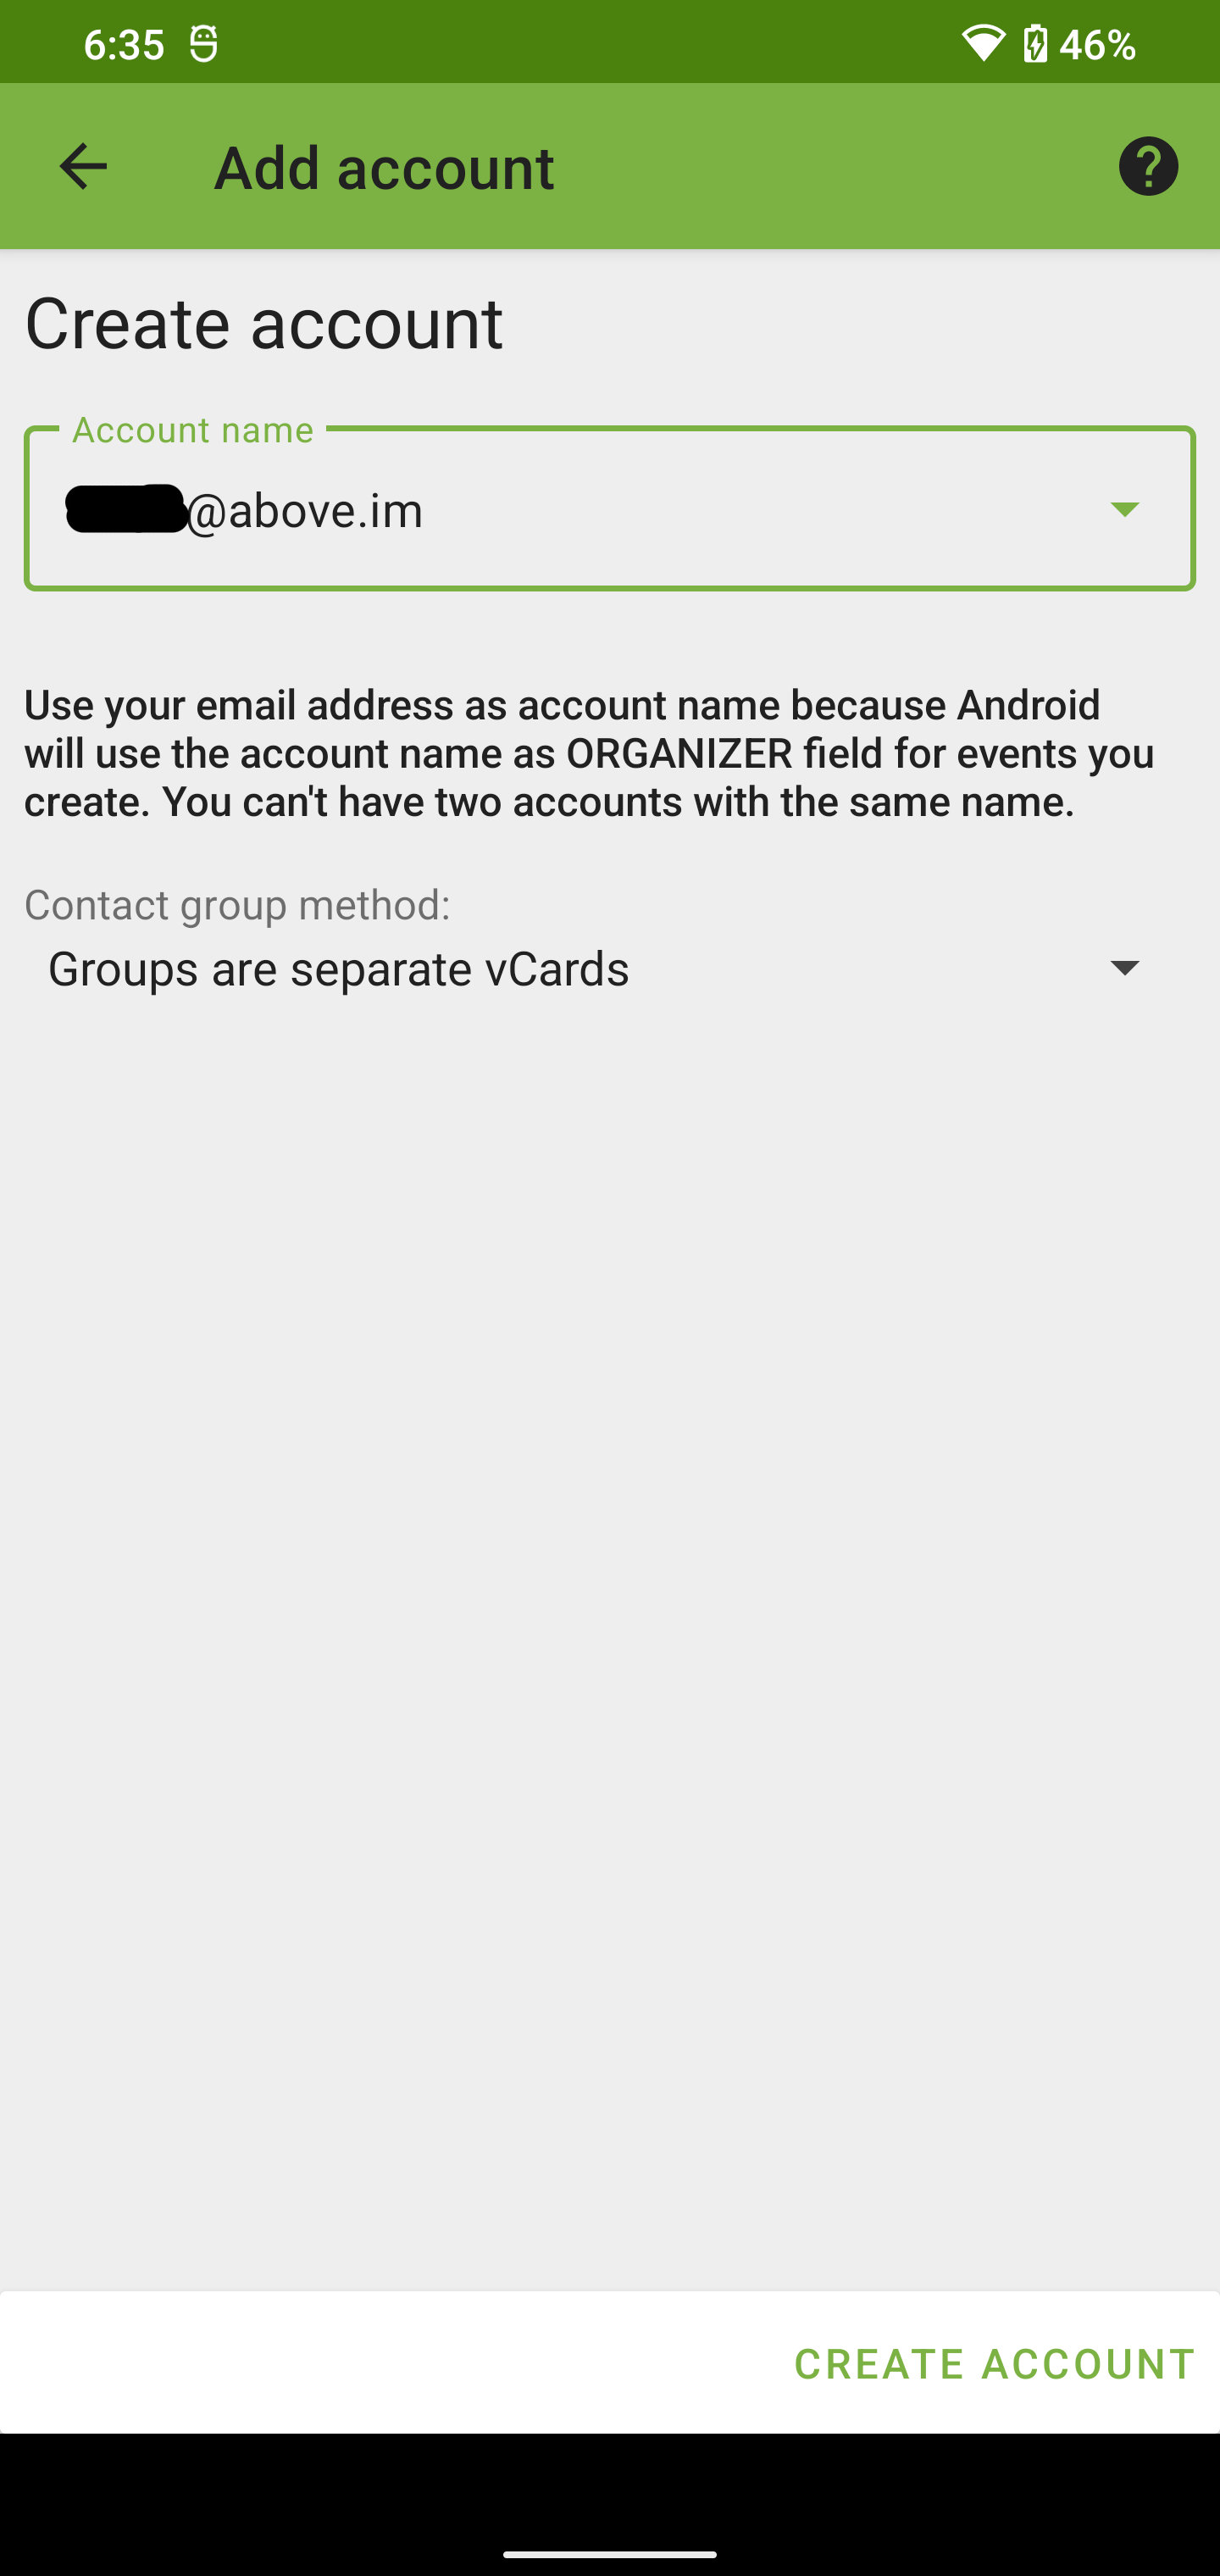
8. Activate the 'Personal Address Book' and the 'Personal Calendar'.
Then click the orange icon with the circling arrows on the bottom right and wait for your calendars to sync in DAVx5.
That's all we have to do with DAVx5 - contacts, Calendars and tasks are now ready to be synced up!
Now, let's check how to the contacts and the calendar are integrated.
Integrating the contacts from DAVx5
Usually, the CardDAV account is integrated automatically after it's created.
Here is how to check and manage this:
- Open the app called 'Contacts'. Apart from the app-drawer, you'll also find it in the 'Office' folder on the homescreen.
- In Contacts, click on the three horizontal lines on the top left. Then click on 'Settings'.
- In 'Accounts' you should see your DAVx5 created account.
- Going back to settings and clicking on 'Contacts to display', be sure that the DAVx5 created account is enabled.
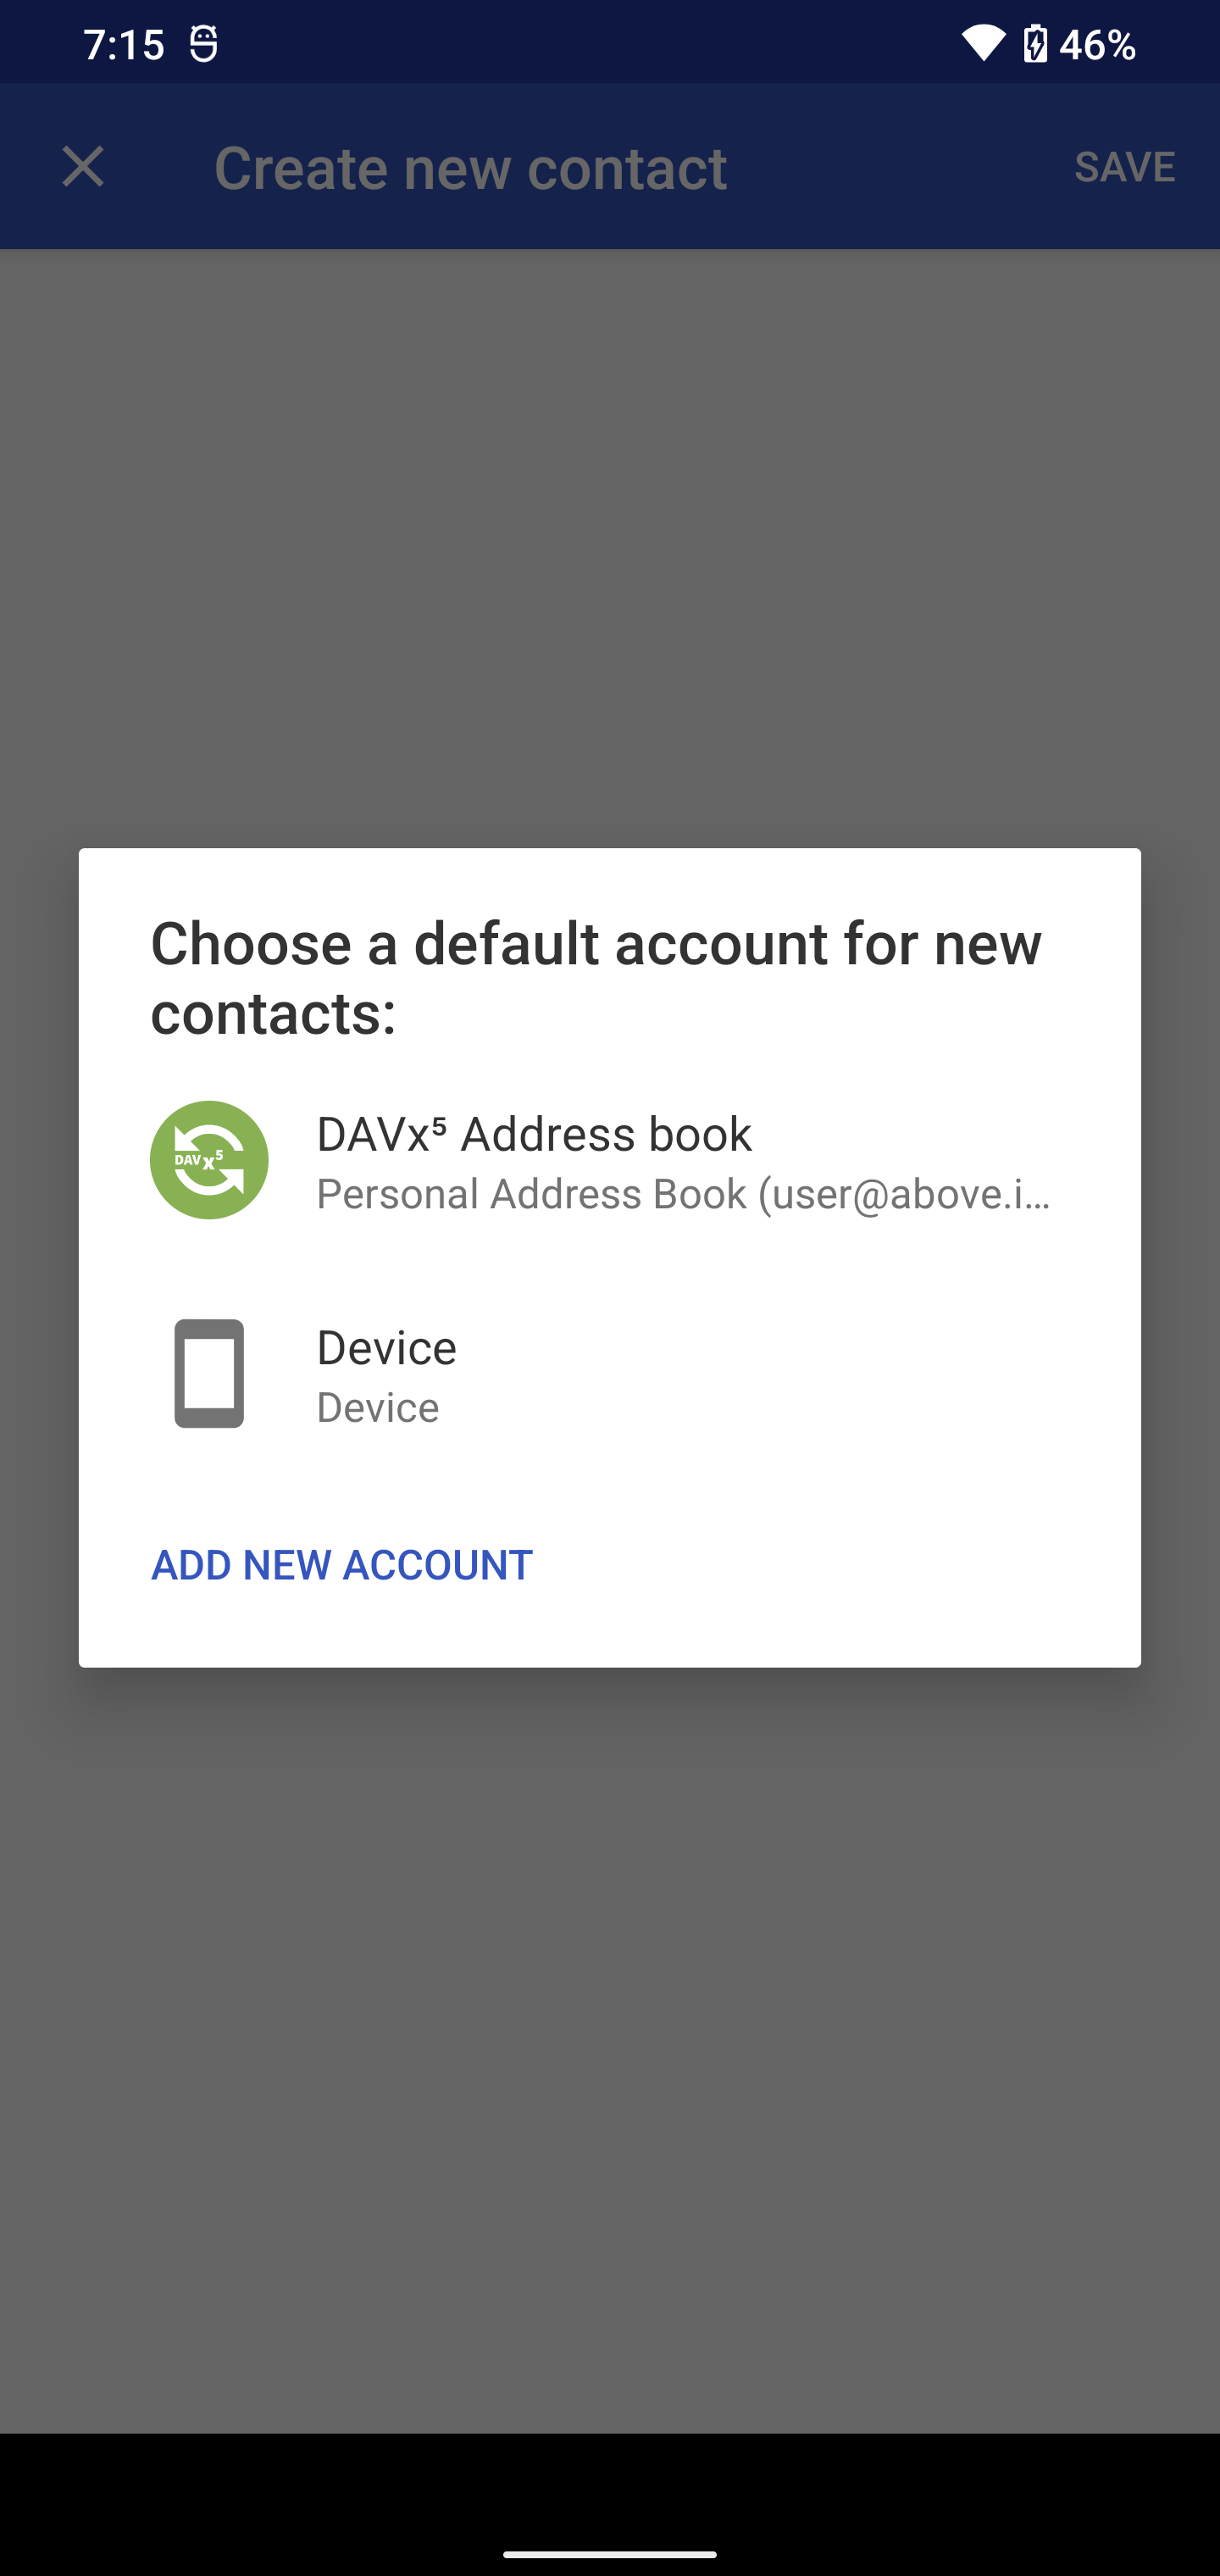
Now, whenever you create a new contact and want it to by synced, be sure to select the DAVx5 account to create it in there.
Integrating the calendar from DAVx5
Again, the Calendar should be integrated automatically after you created it in DAVx5. Depending on your calendar app you'll just have to active CalDAV and enable it.
1. Open your ‘Calendar’ app (in this example we use 'Simple Calendar')
2. Go to ‘Settings’
3. Find and select ‘CalDAV sync’. You're done!
Integrate tasks through OpenTasks
Apart from the calendar, we can also syncronize tasks through CalDAV. We will use the open source app OpenTasks for this, which you can download and install from F-Droid.
OpenTasks inegrates out of the box with all the active calendars. So you can just go ahead and create tasks, that are linked to your @above.im account!
- Open the app 'OpenTasks', in the app drawer it's just called 'Tasks'
- Locate your DAVx5 created calendar with @above.im in its name.
- Click on the 'Plus' right next to it to create a new event within this calendar.
That's all - enjoy!
Sync on multiple devices
You can sync your contacts, calendar and tasks on multiple devices. For Android phones, you just have to install DAVx5 (or any other app that supports CalDAV & CardDAV) and login to the same account.