In this article, we are taking a closer look at the file system we're dealing with on the Above Phone. Generally, this is very much like any other Android device.
Here, we'll cover the basics on how to manage your files.
To access your filesystem, find and click the application 'Files'. On the Above Phone, we put a quick shortcut right at the navigation bar on the home screen. It is the fourth symbol on the bottom, showing a black folder icon.
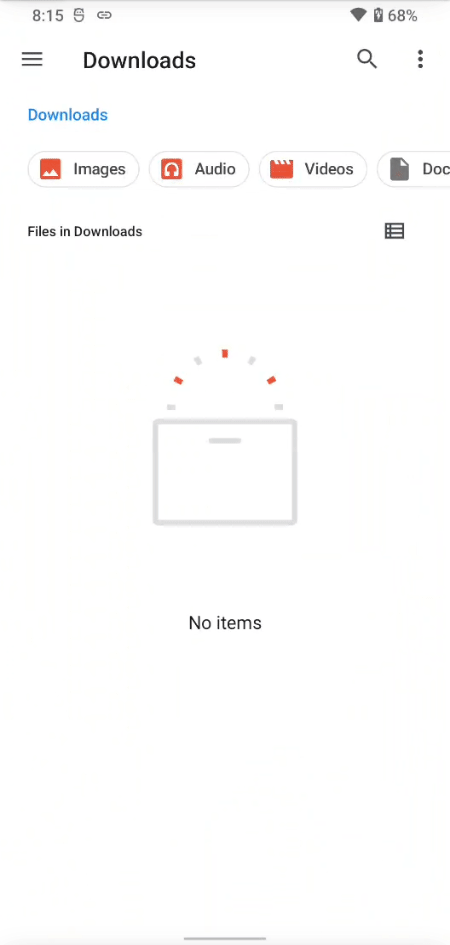
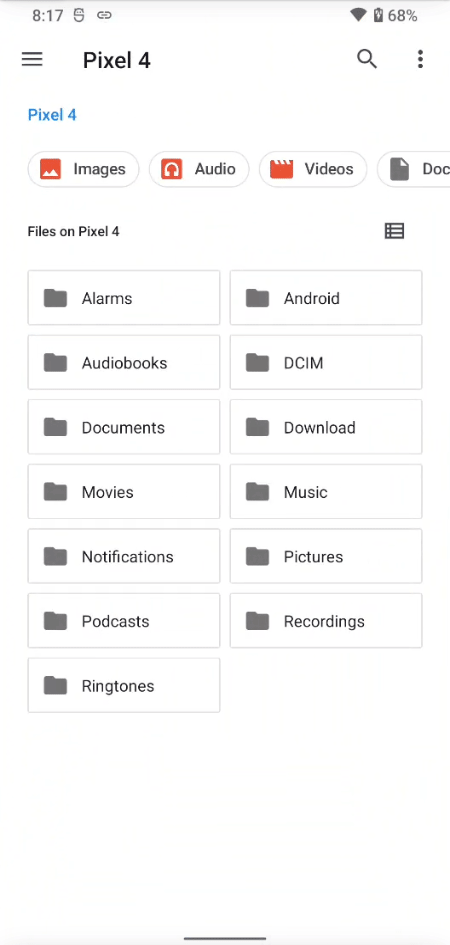
With the Files app opened up, you'll see all the folders on your device. You can fully manage your data from here. You can copy, move or delete as you see fit.
In this example, we copy a file from the 'Movies' folder to 'Documents'.
On the top left, there are three horizontal lines allowing you to quickly navigate to default folders.
To select a file or folder, just hold down on it. It will then show as selected and give you all the options to manage it. You can also select and manage multiple files at once.
To make it easier to manage multiple folders at once, you can create another window. To toggle between them, make your active apps visible by hitting the 'Recent Tasks' button on the bottom right of your screen (if you're using gestures navigation: pull up from below on your screen and hold)
To create new folders, click on the three dots on the top right and then on 'New Folder'.
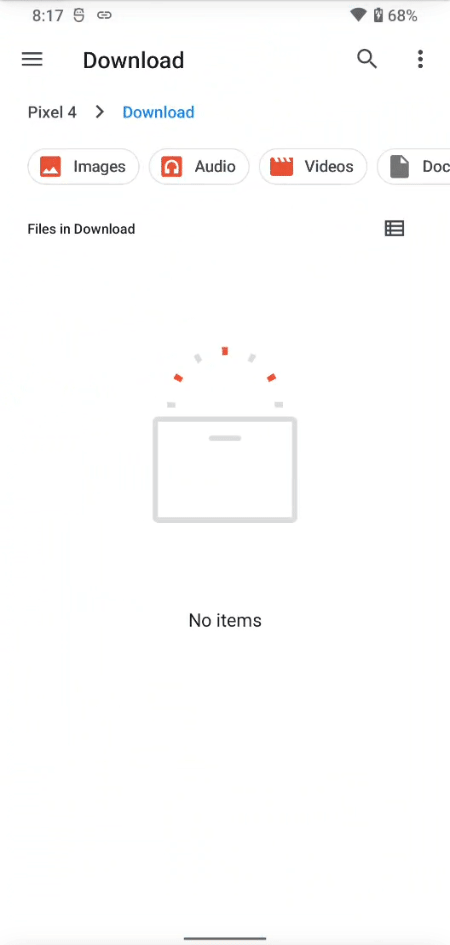
On the top, you can always verify where you are and find back easily.
For example: Pixel 4 - Download - Archive
Connect to Desktop via USB
In order to access your files from a desktop Computer, just connect your phone through an USB-C cable. By default, this will just charge your device. To access the device, you'll have to enable File Transfer.
We can enable File Transfer by pulling down the notification menu from the top of the screen. Then, there should be a notification saying 'Charging this device via USB'. Click on this notification to make a menu pop up, allowing us to define different ways the device is connected. By clicking on 'File Transfer', we enable for the computer to mount the device, and in effect it should show up in the computer's file explorer.

Note: Depending on your machine, you may need to install drivers for this.
Using USB flash-drives On-the-go (OTG)
With newer Android devices featuring the USB-C port, it is possible to directly connect a variety of USB devices. In order to do this, you'll need an USB-C to USB-B adapter. They look something like this:
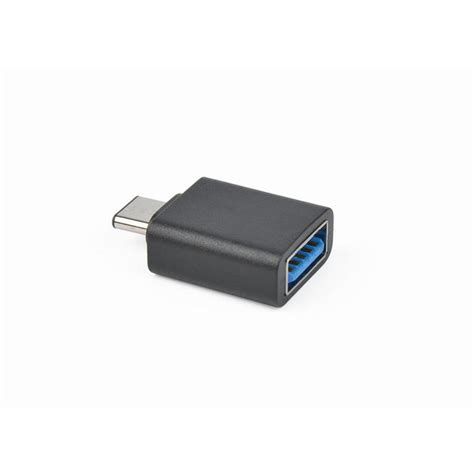
You can get one of these by purchasing the Above Phone Essentials.
With this handy tool, you can actually connect many different USB devices (mouse, keyboard, flash drives, ... )
Note: The USB flash drive has to be formatted to FAT32 in order for the phone to be able to work with it. Be aware, that you might have to reformat it - in that case, be sure to back up all your data from the flash drive first!
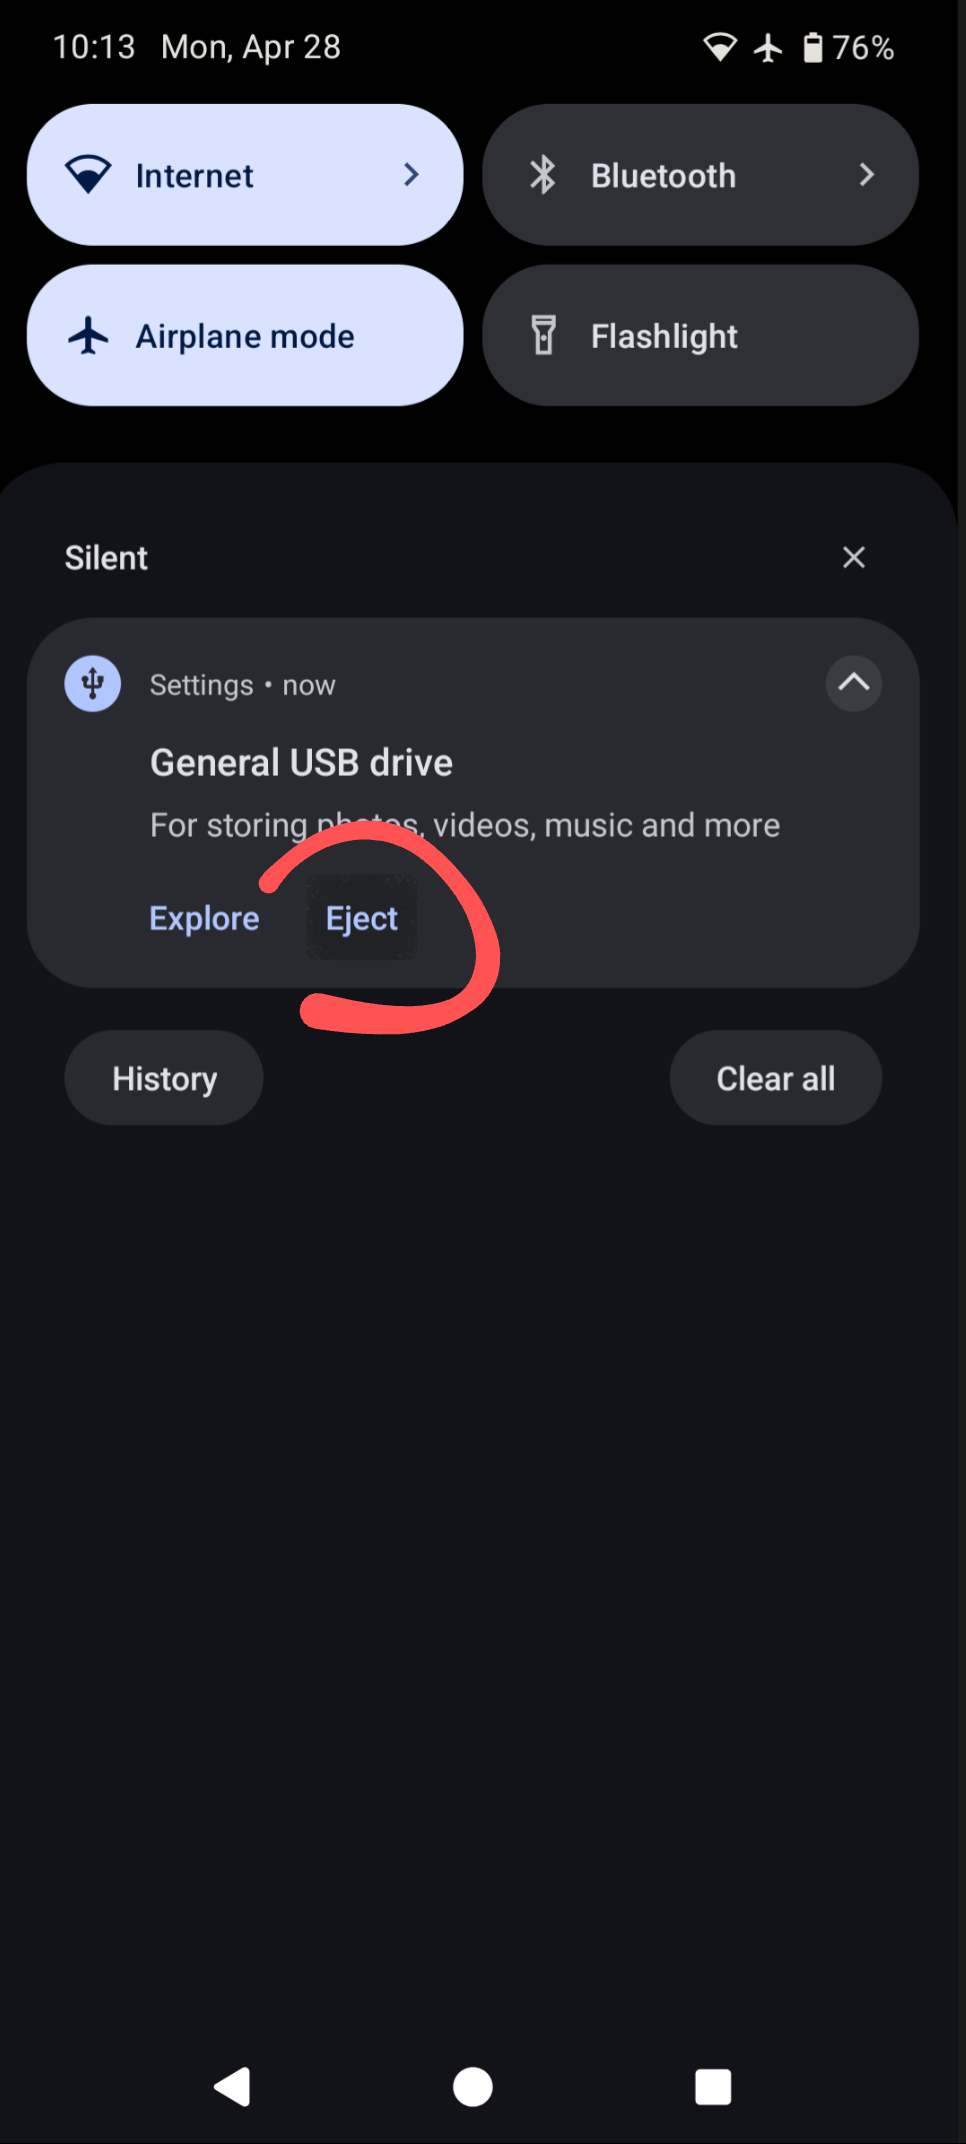
To connect a flash drive, just plug the adapter in to your phone and then attach the flash drive right into the USB port. In effect, your phone should recognize the flash drive. A notification will appear right away, saying 'USB drive' for transferring photos and media. With the options to 'EXPLORE' or 'EJECT'.
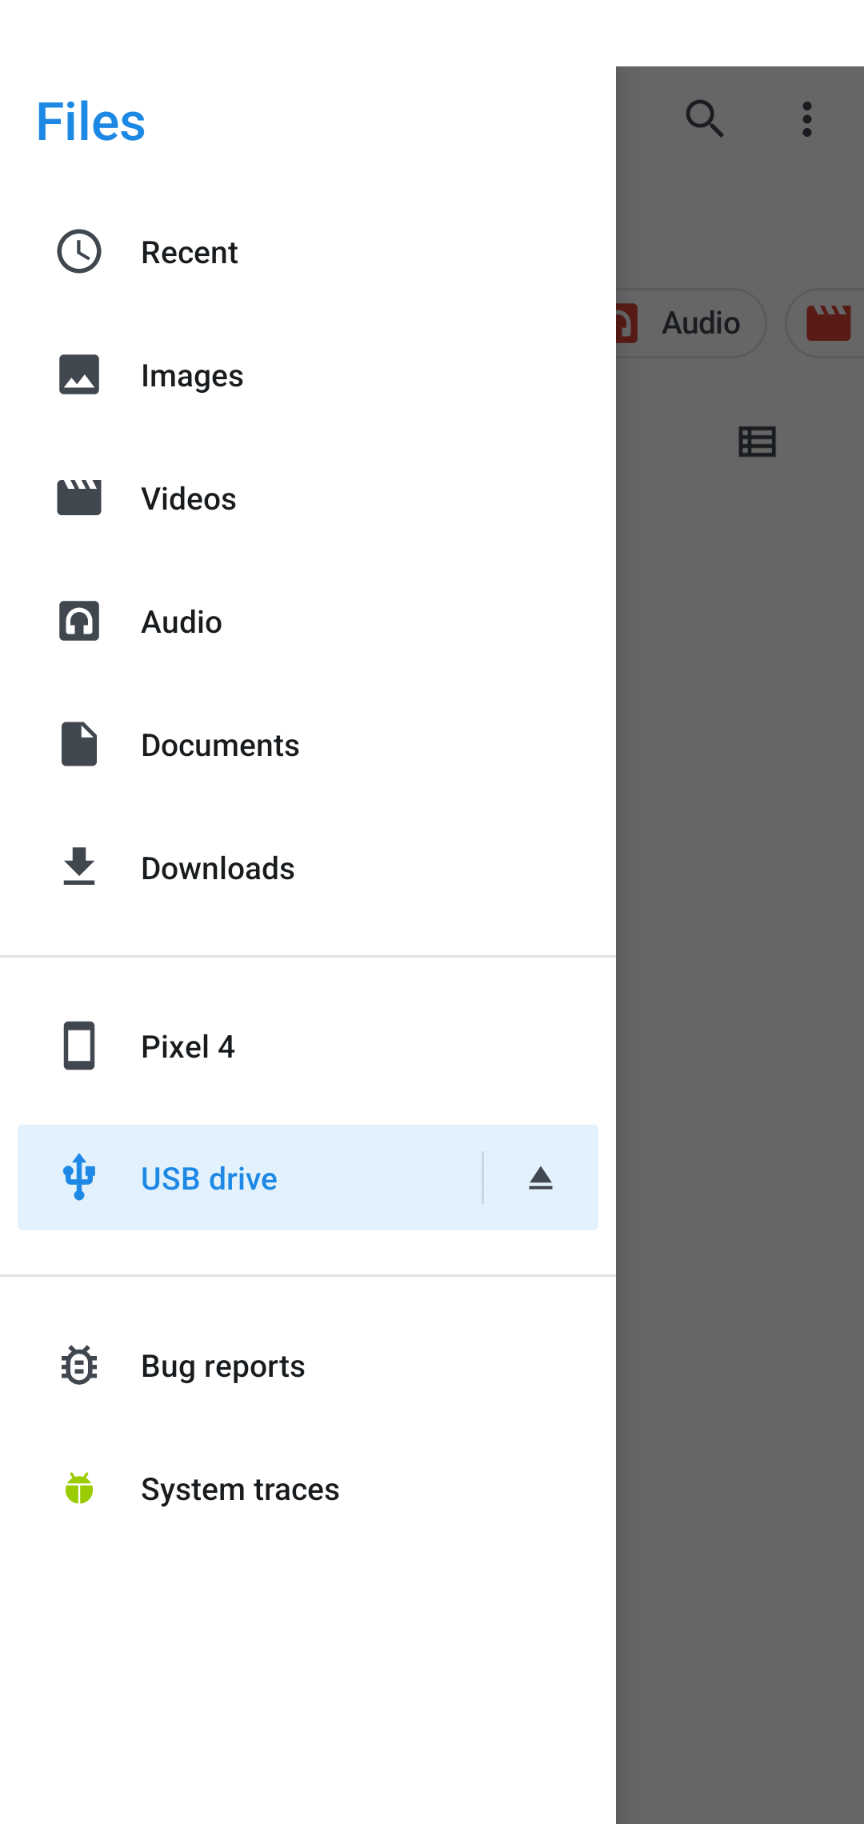
The drive will also appear in your Files app we looked at earlier. Just click on the three horizontal lines for the sidebar to appear. There you can navigate to your USB flash drive and copy and move files on and from it.
Ejecting USB storage safely
In order to make sure your files don't get corrupted, you'll want to use the feature to safely eject a USB file transfer before you pull it out of the phone. Make sure that all transfers are finished - you can check in the notification section if there is any transfer pending.
There are two ways to eject safely - one is from the notifications:
Just pull down from the very top and look for the notification referring to your USB file storage. You may need to slightly swipe down within it to see all the details.
Eject shows on the right, next to Explore. Just tap on it to safely remove your USB storage.
Once it disappears from the list, you're good and can just unplug it from your device.
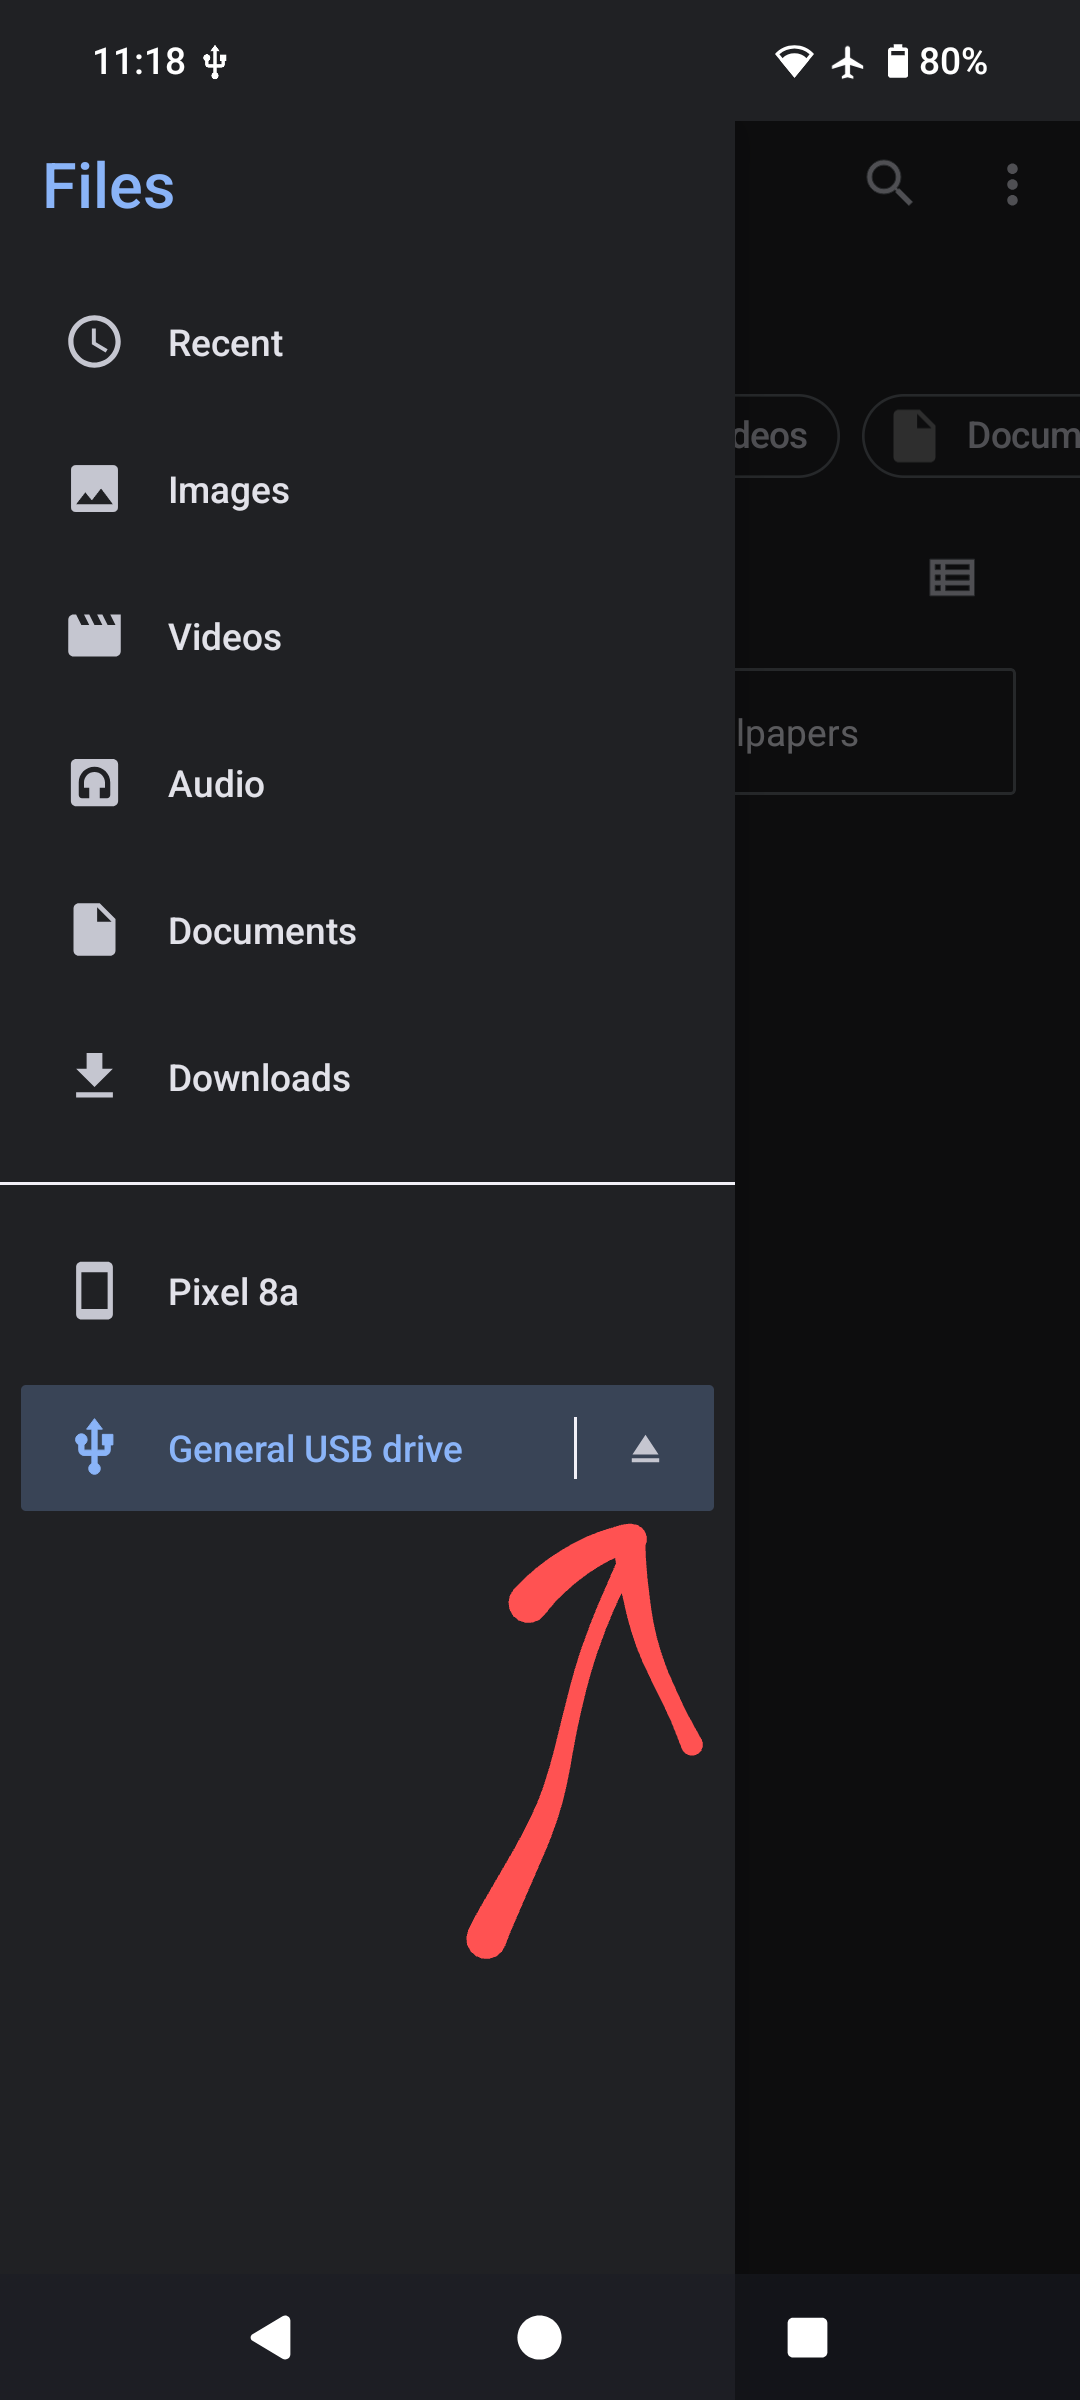
The other way is via the file explorer app (simply called 'Files').
Tap on the three bars top left to bring out the sidebar.
Right where your devices are listed there is a triangle type icon next to your USB file storage. Tap on it to safely eject your USB storage.
Once it disappears from the list, you're good and can just unplug it from your device.
Troubleshooting
If your USB storage doesn't get recognized it could be because of one of the following reasons:
- The security settings restrict the USB type-c connection depending on your phone's state.
You can check these settings in:
Settings > Security & Privacy > Exploit Protection > USB-C port - The filesystem format is not recognized.
Note that while the phone can set up the right filesystem, this process will completely wipe all data on your USB file storage.
We recommend to use a FAT type of filesystem, preferably exFAT for universal compatibility with other operating systems. - Your USB file storage will only get recognized in one user profile at a time. If you switched to a different user profile, you'll first want to (safely) remove the USB storage from within the user profile you were in when you connected it in the first place.